Hiking the Dutch Mountain Trail
Netherlands
I’ve done my best to make this guide accurate and useful, but I’m a hiker sharing what worked for me, not a professional guide. Always read the full Terms of Use first. This post contains affiliate links. I may earn a small commission at no extra cost to you.
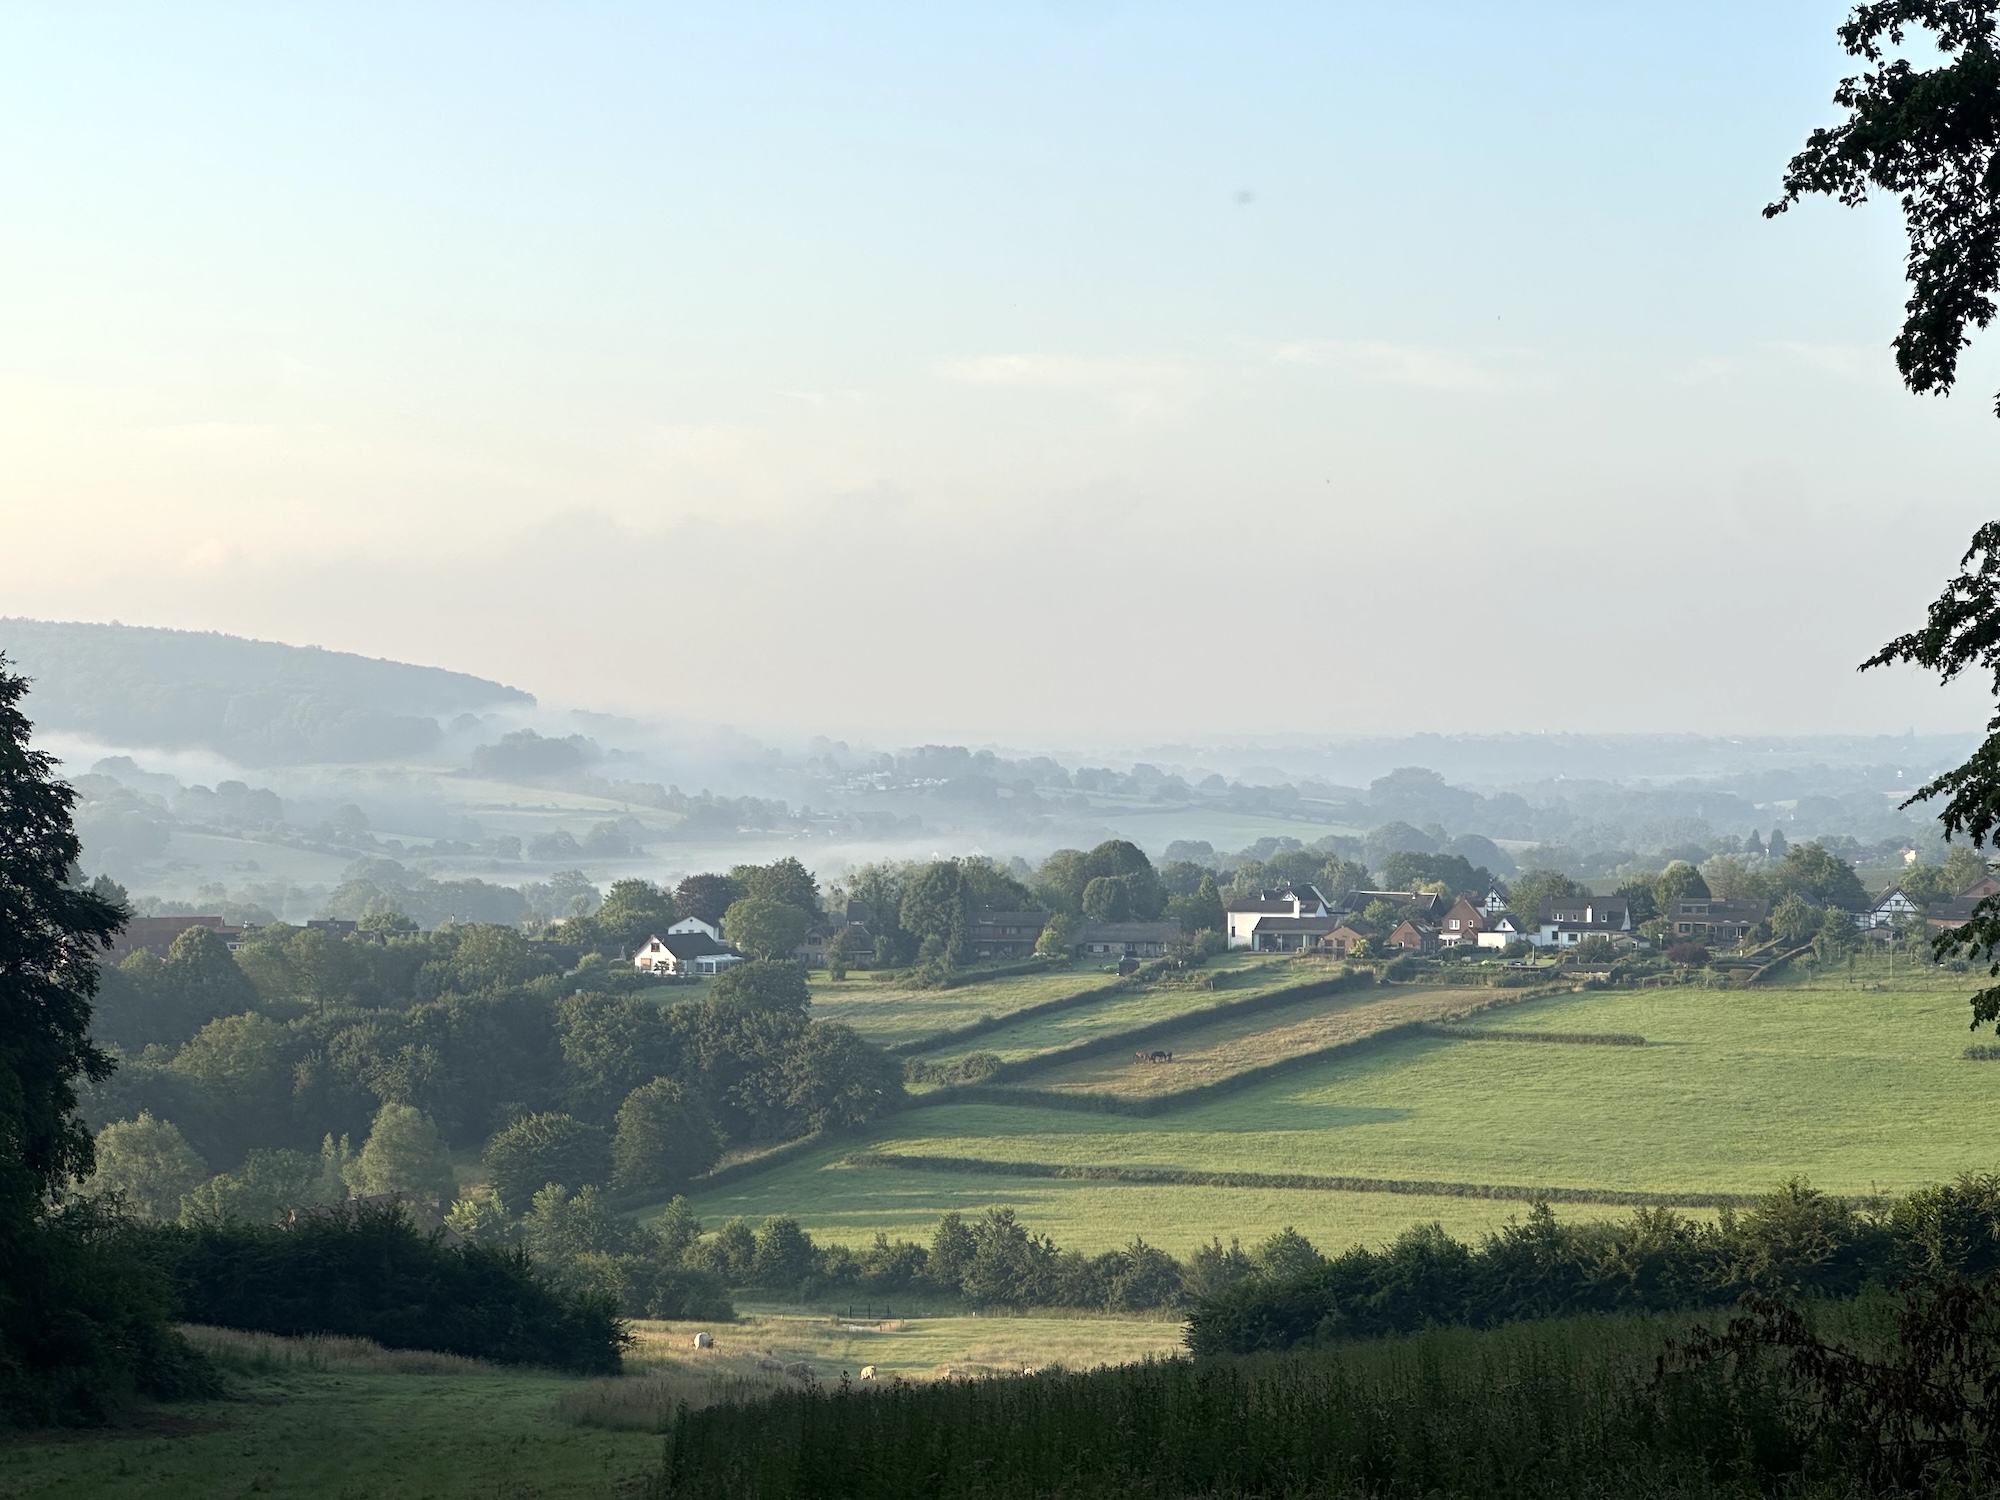
Hiking the Dutch Mountain Trail is one of the best ways to experience the most rugged long distance trail in the Netherlands. Stretching 101 kilometers (63 miles) from Eygelshoven near Kerkrade to Maastricht, the Dutch Mountain Trail climbs all Seven Summits of South Limburg, including the Vaalserberg, the highest point of the Dutch mainland. Along the way it threads through some of the most surprising scenery in the country: forested border ridges around Vaals, vineyards and streams in the hills above Gulpen, and the otherworldly cliffs of the ENCI quarry on the descent into Maastricht.
Below you’ll find everything you need to know to plan, organize, and hike the Dutch Mountain Trail.
Overview
Quick Stats
- Location: South Limburg | Netherlands
- Distance: 101 km | 62.8 mi
- Difficulty: Moderate | Non-technical
- Days required: 4-5 days
- Season: Year-round
- Start Point: Eygelshoven Station
- End Point: Maastricht Station
- Total Elevation ↑: 2,150 m | 7,054 ft
- Highest Point: 322 m | 1,056 ft
When To Hike the Dutch Mountain Trail
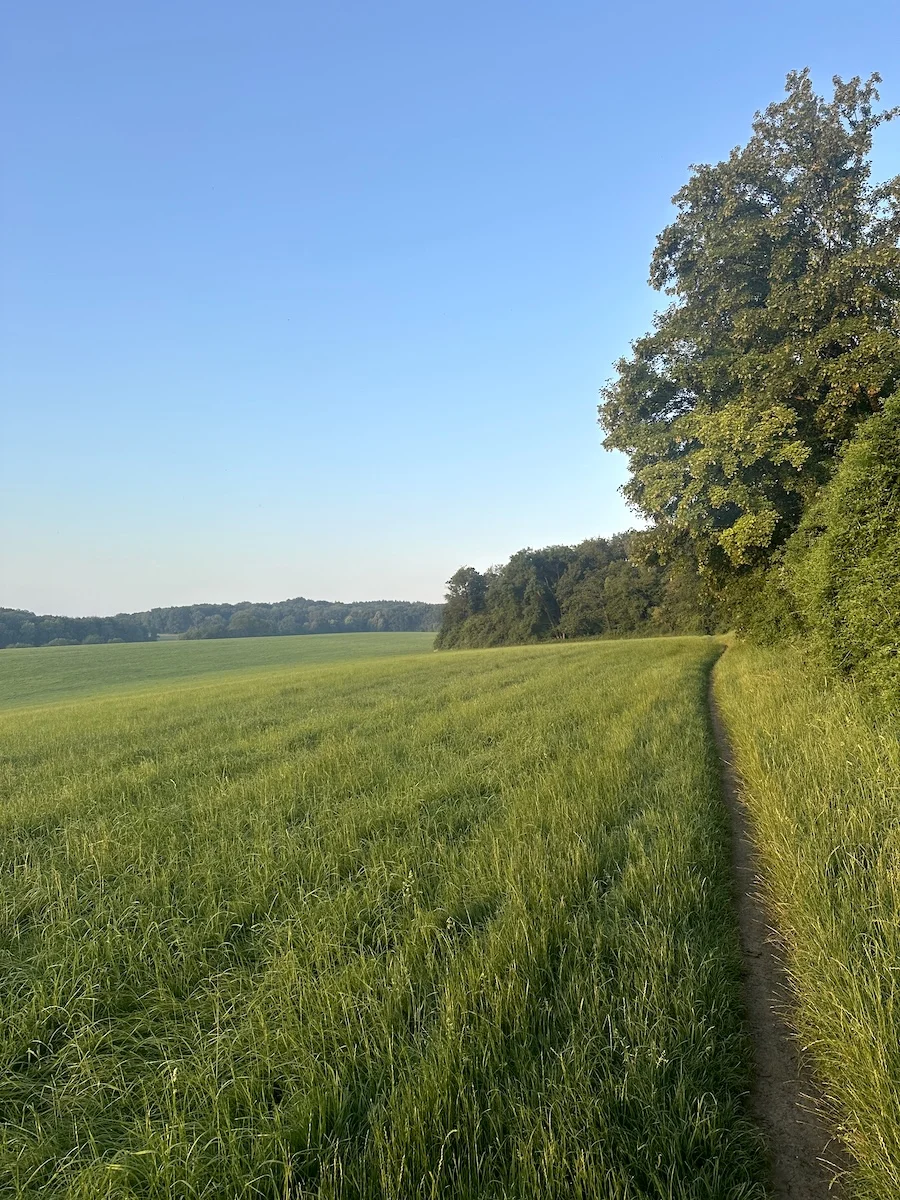
The Dutch Mountain Trail can be hiked year round, though the best months run from April through October when the weather is warmer and dryer. During the rainy season trail conditions will be muddy and slick. Another consideration is the ferry across the Maas stops running from early November to late March, forcing a longer detour (+ 6 – 8km) through Belgium.
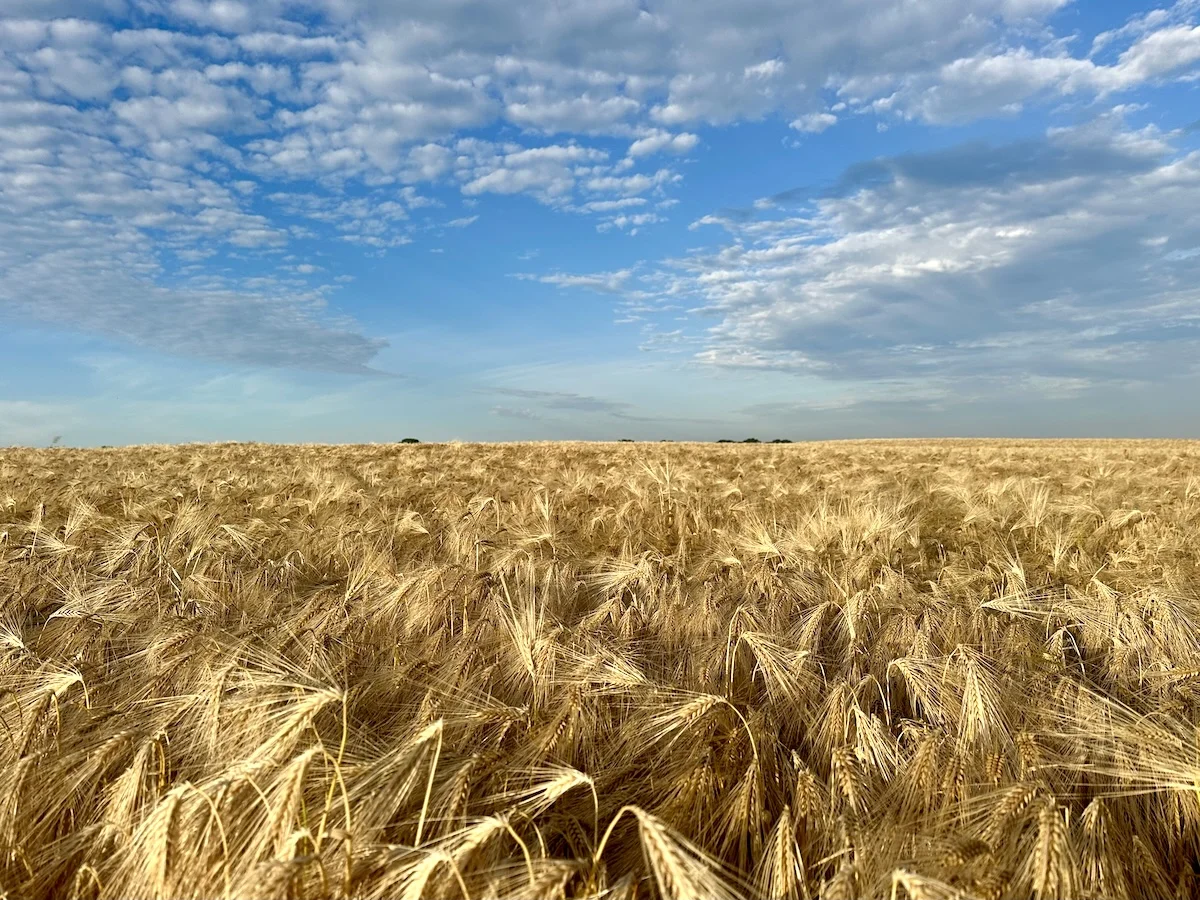
- April – May: Spring. The hills green up, the vineyards and meadows come to life, and the trails stay quiet. The Eijsden ferry resumes on April 1. Cool nights are still common and the lower wooded sections can hold water and mud left over from winter.
- June – August: Peak season. The warmest, driest, and busiest months, with long days and village terraces open along the route. South Limburg is one of the warmer corners of the Netherlands, so expect humid afternoons and pack for heat as much as for rain.
- September – October: Cooler temperatures, fewer crowds, the grape harvest in the hills, and autumn color through the forests. Days are getting shorter and rain more frequent, so the mud returns and an early start may need a headlamp.
Always be ready for rain and slick mud. Pack layers, and a waterproof jacket. For footwear I always recommend trail runners that are not waterproof. They dry out the fastest, as your footwear inevitably gets wet from rain, puddles or sweat.
Guide Book
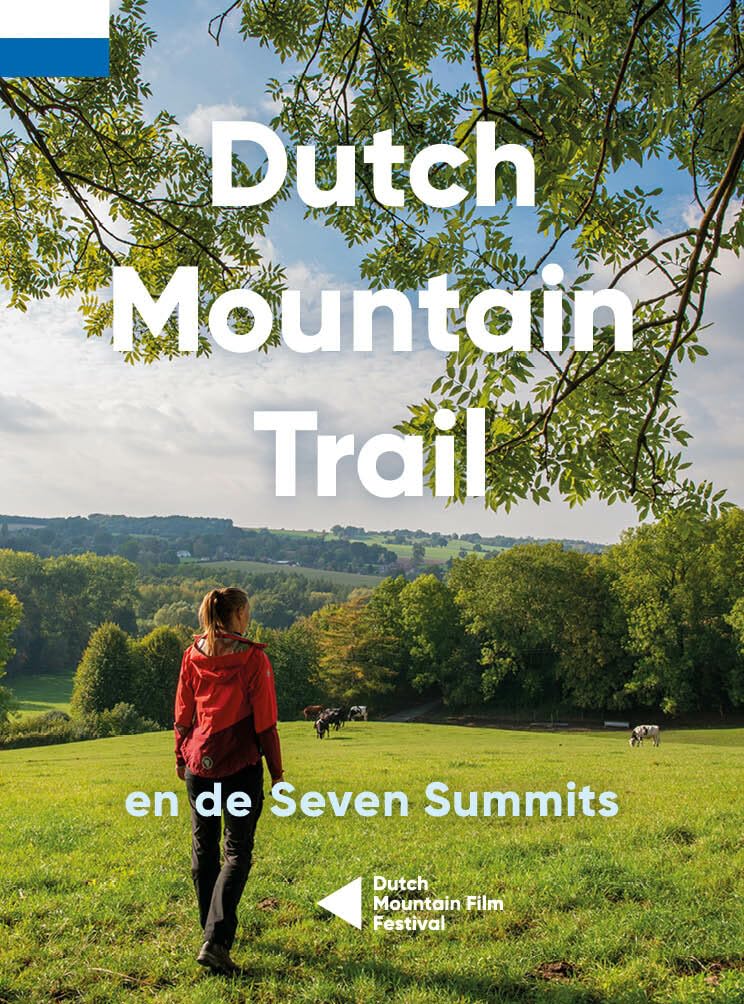
I hiked the Dutch Mountain Trail without a guidebook, navigating only by GPS. That said, if you prefer a good overview with route descriptions and history, the “Dutch Mountain Trail: And the Seven Summits” is a useful companion guide. You can download the official route GPX and check accommodation along the way directly from the Dutch Mountain Film Festival, the team who created the trail.
For gear planning and organization, I use TrekList, a free tool that I created to help with getting your pack set. For route planning and navigation, I use Komoot.
Combined with this guide, you have everything you need for hiking on the Dutch Mountain Trail.
Logistics
One of the underrated joys of the Dutch Mountain Trail is how simple the logistics are. The trail begins and ends at train stations, so there is no shuttle to book, no car to leave at one end, and no taxi to coordinate. You step off the train and start walking, and you finish in the center of Maastricht and step right back onto one.
Getting There
If you are arriving from further away, the simplest gateway is Amsterdam Schiphol (AMS), with a fast intercity south. Closer to South Limburg you also have Brussels (BRU), Düsseldorf (DUS), Cologne (CGN), and Eindhoven (EIN), while Maastricht Aachen Airport (MST) is the most local but runs limited routes.
- Train → Heerlen → Eygelshoven Station
Getting Home
Maastricht is a major station with quick connections across the Netherlands and into Belgium and Germany, so the trip home is as easy as walking off the trail and onto a platform.
- Train → Maastricht Station
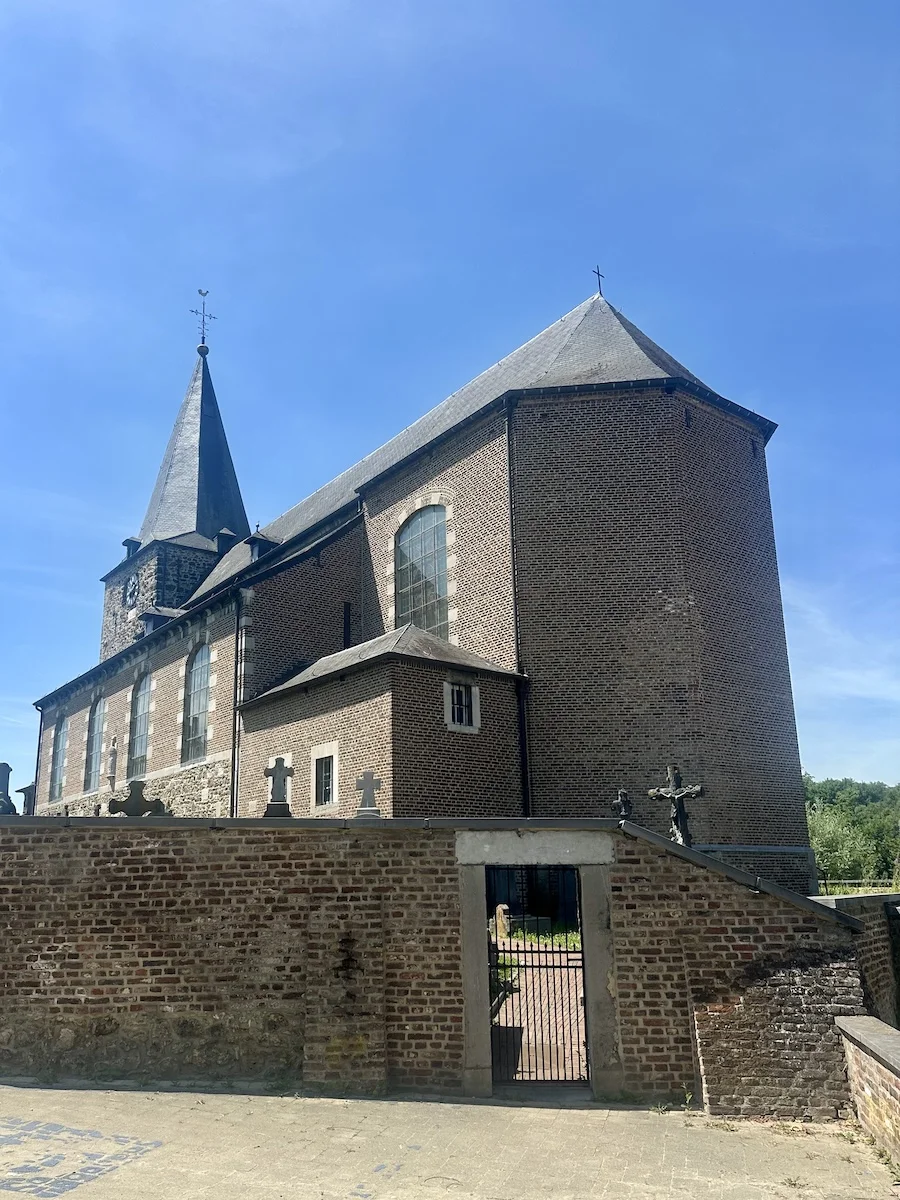
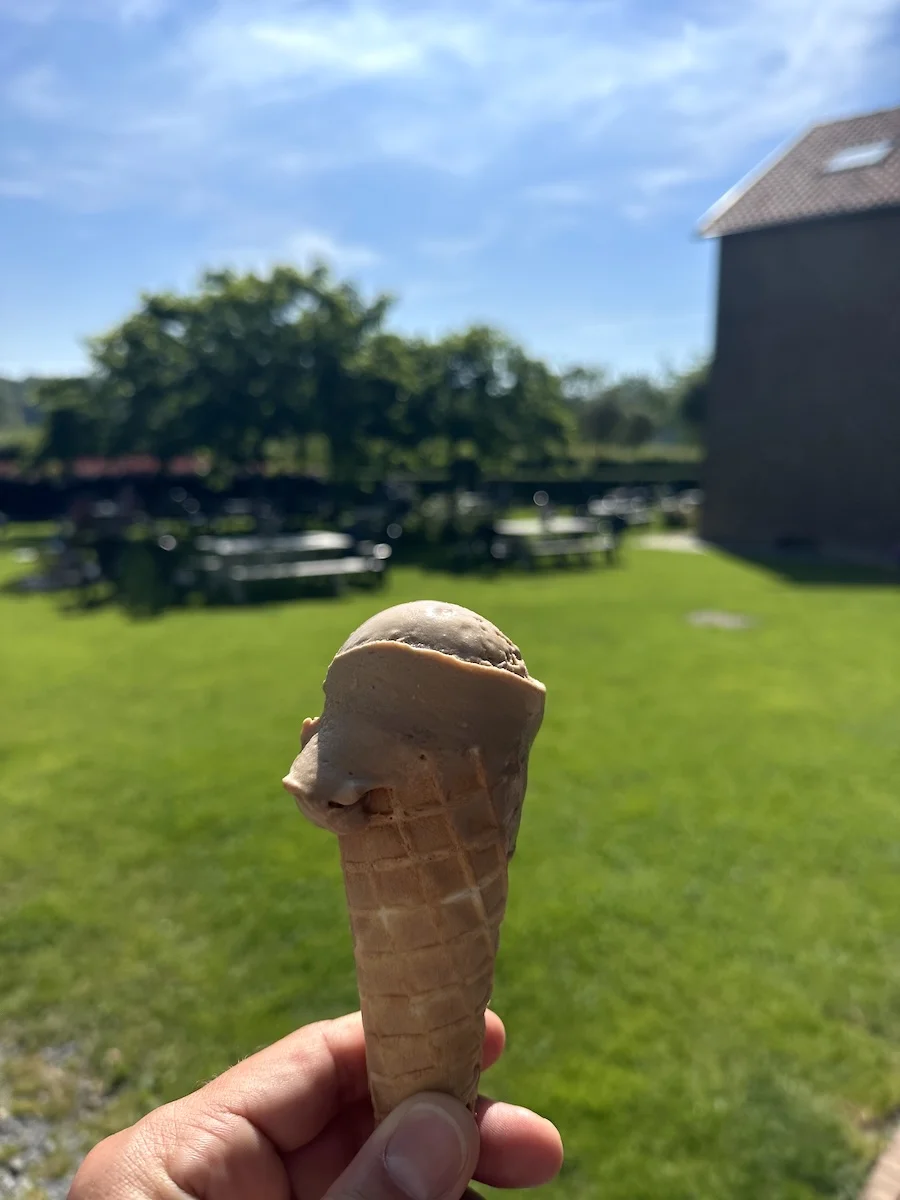
What To Do Next: This was my first visit to Maastricht and I was immediately impressed. Plan to spend the afternoon strolling the streets of the old city center. I managed to find quite possibly the best tacos in the Netherlands at With Love Burrito and a delicious ice cream cone from Madaq Chocolatier before heading to the Maastricht station to go home.
Dutch Mountain Trail Camping Gear List
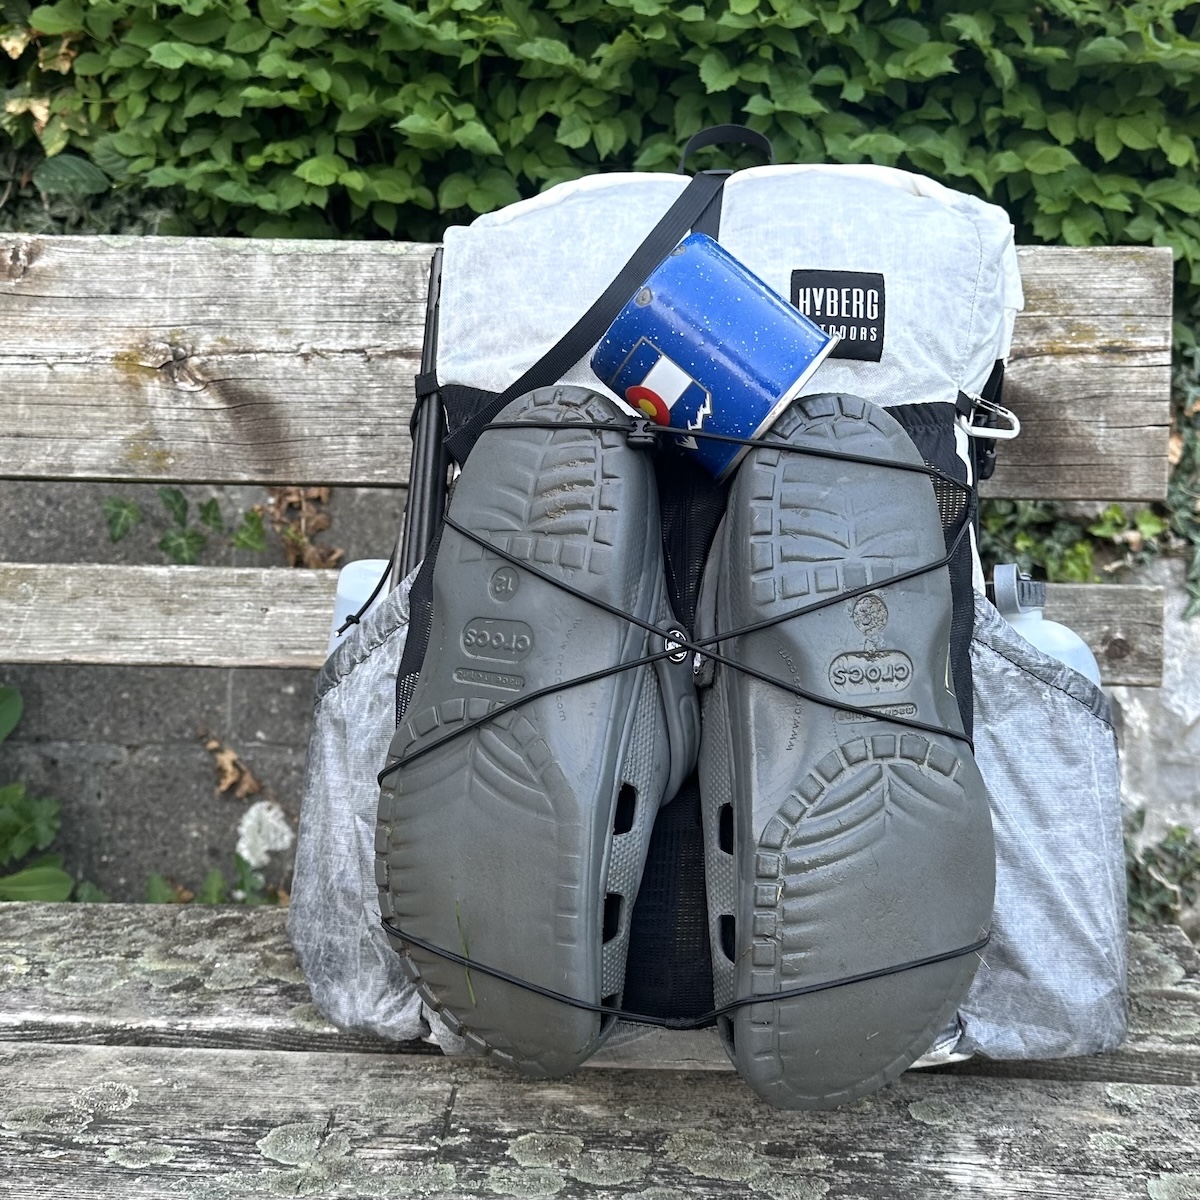
Below you’ll find everything I took with me on the Dutch Mountain Trail. I went in June during a heat wave where temperatures ranged from 18 at night to 33 during the day. It was very hot and mostly dry with the exception of the first night. Over years and many miles of hiking I’ve been able to fine tune my gear list for efficiency. The goal is to carry everything I need and nothing I don’t.
Gear List
Complete Camping the Dutch Mountain Trail Gear List 5.8kg | 12lb 12oz
Built and organized with Treklist.
Tip: The Dutch Mountain Trail is not technically difficult, but the weather can be unforgiving. Because the trail is short, the forecast you check before setting off will usually hold for the whole hike, so let it guide your kit. My list was built for hot, sunny weather. Had it been cooler or wetter, I would have added a down jacket and probably waterproof pants.
As the Dutch say, “Er bestaat niet zoiets als slecht weer, alleen slechte kleding.” There is no such thing as bad weather, only bad clothing.
Food and Resupply
I didn’t plan this trip far in advance. It was more of a “I have next weekend free, might as well go for a hike.” I also assumed that, this being the Netherlands, I would have plenty of food options along the way. That turned out to be only partly true. The trail deliberately stays away from the villages and towns, which makes resupply less straightforward than I expected.
There are a couple ways to handle this. One is to start with four days of food and stay completely self sufficient. These days I lean the other way. I have come to really appreciate carrying a light pack, and I am comfortable skipping a meal or loading up on calories when the chance comes.
Another way would be to bring some snacks along to supplement the restaurants and cafes along the way. I started with four Trek bars and some trail mix. In hindsight I would have added some oatmeal for the mornings and maybe one dehydrated meal for flexibility.
Here is every place I stopped for food on the Dutch Mountain Trail:
Day 1: Vaals, Albert Heijn
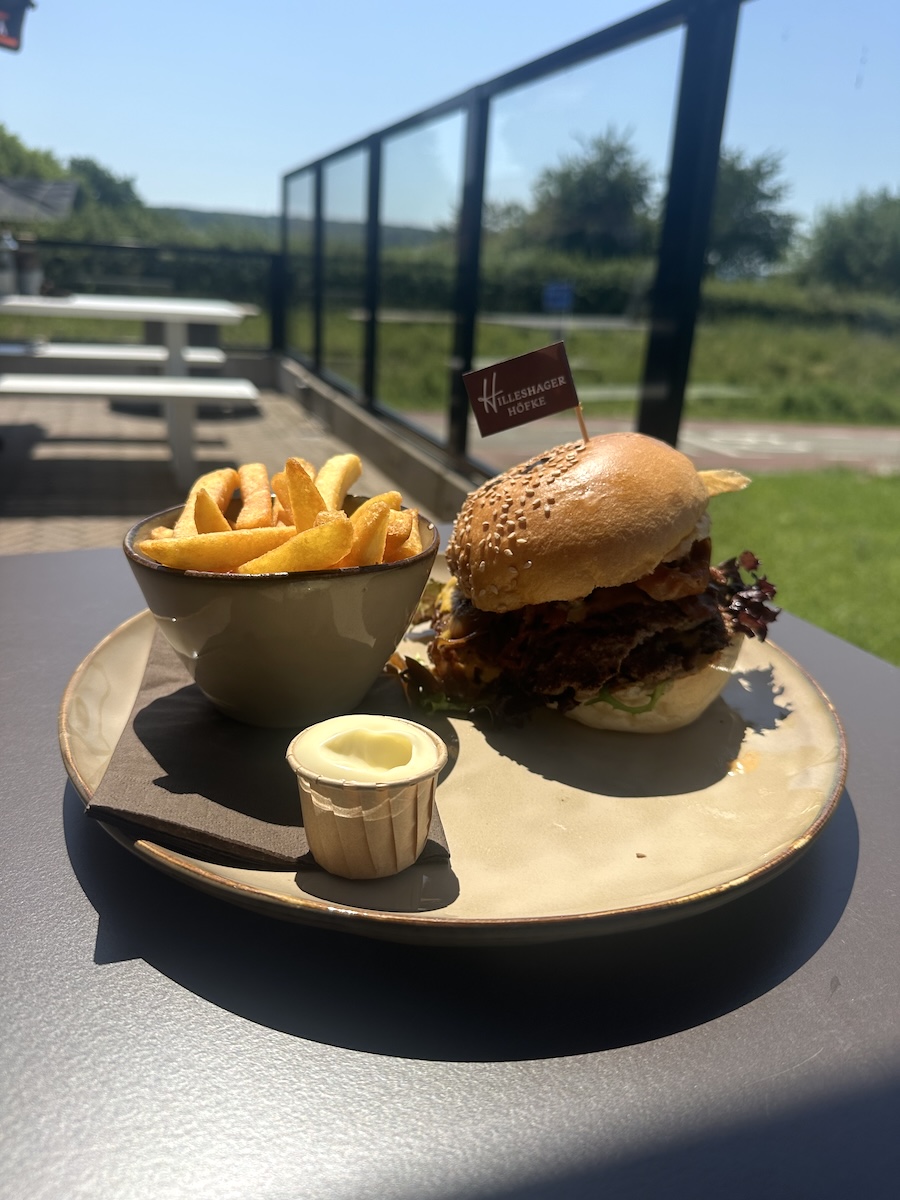
Day 2: Lunch at Hilleshagerhöfke, dinner at Europarc camping
Day 3: Lunch at Het Boerenhof in De Plank, dinner at Brasserie Boave de Wesch
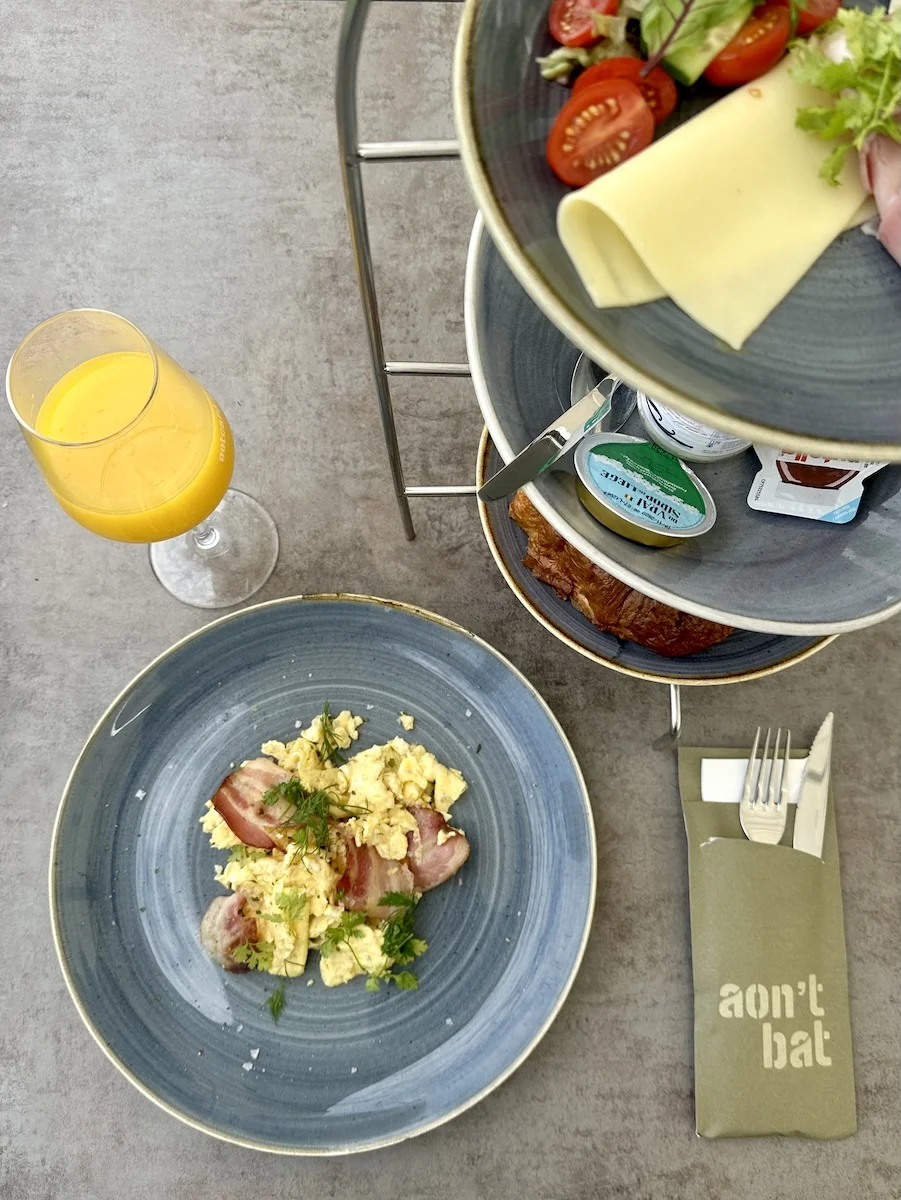
Day 4: Brunch at Eetcafé Aon ‘t Bat, late lunch at With Love Burrito in Maastricht
Having snacks in the pack to fill the gaps between these stops made a real difference. I left camp very early each morning, well before bread would have been delivered had I ordered any for the day.
Water
My hike landed in the middle of a heat wave, and I was drinking far more than usual. Days 2 and 3 were the hardest for finding water. I tried to carry two liters whenever I could top up, and even that was sometimes not quite enough.
For all that the trail avoids the villages, it never strays far from them. I do not like detouring off the route more than I have to, but if you need water or food, walking a kilometer or two into a town, or rerouting through one, is always an option.

Recommended Itineraries for the Dutch Mountain Trail
4-Day
| Stage | Distance | Gain | Time | Overnight |
|---|---|---|---|---|
| Day 1: Eygelshoven → Vaals | 25.9 km / 16.1 mi | 418 m | 6.5–7.5 hr | Vaals |
| Day 2: Vaals → Gulpen | 29 km / 18 mi | 710 m | 7.5–8.5 hr | Gulpen |
| Day 3: Gulpen → Mheer | 26.4 km / 16.4 mi | 684 m | 7–8 hr | Mheer / Noorbeek |
| Day 4: Mheer → Maastricht | 25.1 km / 15.6 mi | 341 m | 6–7 hr | Maastricht |
5-Day
| Stage | Distance | Gain | Time | Overnight |
|---|---|---|---|---|
| Day 1: Eygelshoven → Vaals | 25.9 km / 16.1 mi | 418 m | 6.5–7.5 hr | Vaals |
| Day 2: Vaals → Vijlen | 12.2 km / 7.6 mi | 340 m | 3–4 hr | Vijlen |
| Day 3: Vijlen → Gulpen | 18.9 km / 11.7 mi | 406 m | 5–6 hr | Gulpen |
| Day 4: Gulpen → Mheer | 26.3 km / 16.3 mi | 682 m | 7–8 hr | Mheer / Noorbeek |
| Day 5: Mheer → Maastricht | 25.1 km / 15.6 mi | 341 m | 6–7 hr | Maastricht |
Dutch Mountain Trail Campsites
| Name | km | Shop | Dining | Laundry |
|---|---|---|---|---|
| Hoeve de Gastmolen · Vaals | 27 | – | – | ✓ |
| Camping Vandenbooren · Vijlen | 38 | – | – | ✓ |
| Boerderijcamping Schrouff · Vijlen | 38 | – | – | – |
| Osebos · Gulpen | 50 | ✓ | ✓ | ✓ |
| Berghemmerhof · Gulpen | 51 | – | – | ✓ |
| EuroParcs Gulperberg · Gulpen | 51 | ✓ | ✓ | ✓ |
| Oosterberg · Epen | 55 | ✓ | – | – |
| Grensheuvel · Noorbeek | 74 | – | ✓ | ✓ |
| De Mescherhei · Mesch | 88 | – | – | ✓ |
Trail Map
Tips
Ticks
In the warmer months ticks are very common along the Dutch Mountain Trail. I myself did not properly check each evening and later found 4 ticks that had latched on for an unknown number of days. I needed antibiotics after they were removed. Please take that into consideration each night when you are getting into bed or during your shower. The chance of bacteria or disease transmission increases significantly after a tick has been attached for more than 24 hours.
Foot Care
I hiked the Dutch Mountain Trail over 4 days without a single blister. The system I use for foot care on long routes is in my hiker foot care guide. Worth setting up before you leave. TLDR Avoid heat, moisture and friction.
Weather App
The Buienradar app is the best weather app in the Netherlands.
Dutch Mountain Trail Trip Report
Day 1: Eygelshoven to Kampeerterrein Hoeve de Gastmolen
Distance: 25.5km | 15.8mi | Time: 7h
End point: Km 25.5 | Mi 15.8
Getting to the Start
If you’re not familiar with the Dutch train system, the NS, you’ll quickly find that it’s fantastic. You’ll hear plenty of complaints, but compared to the rest of the world it’s quite amazing. I took the Intercity to Heerlen, then a quick transfer on the Sprinter to Eygelshoven. The hike began the moment I stepped off the train.
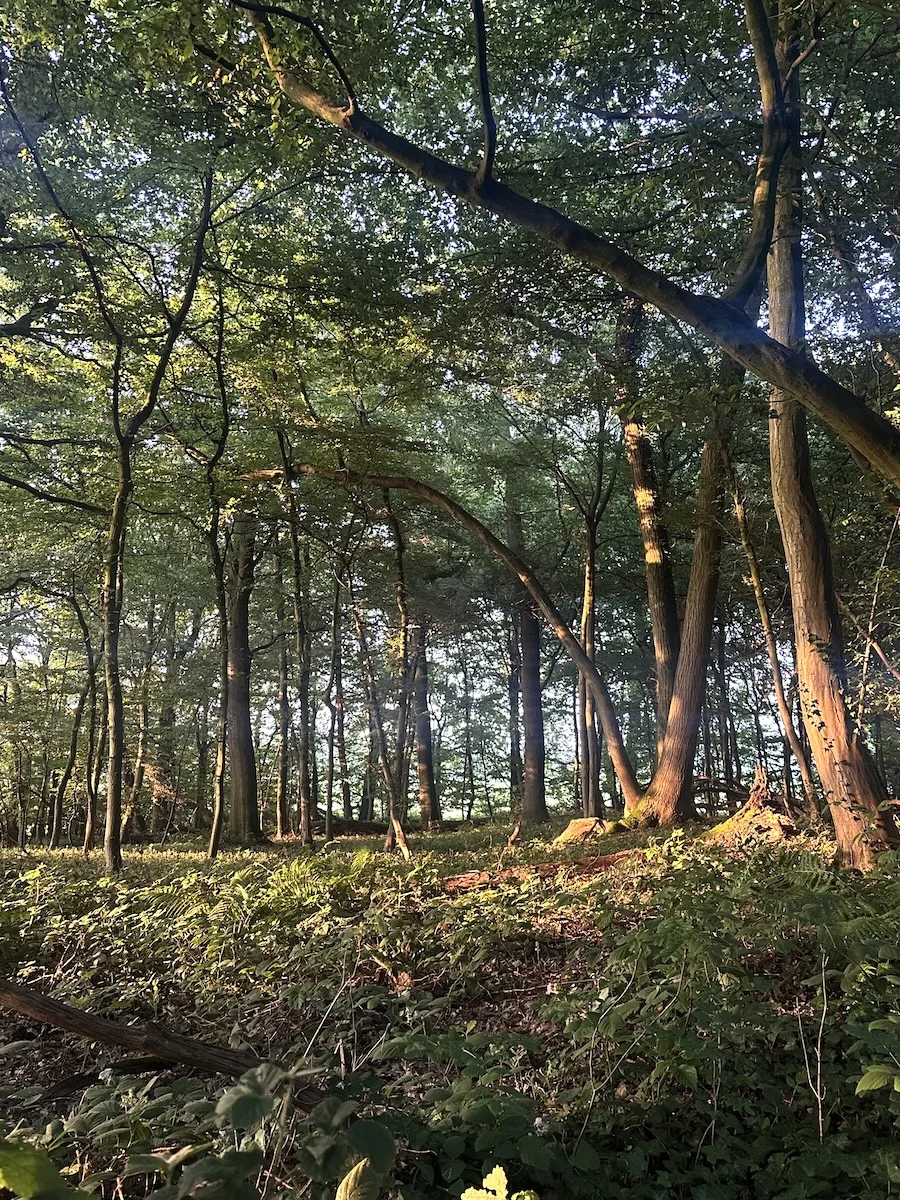
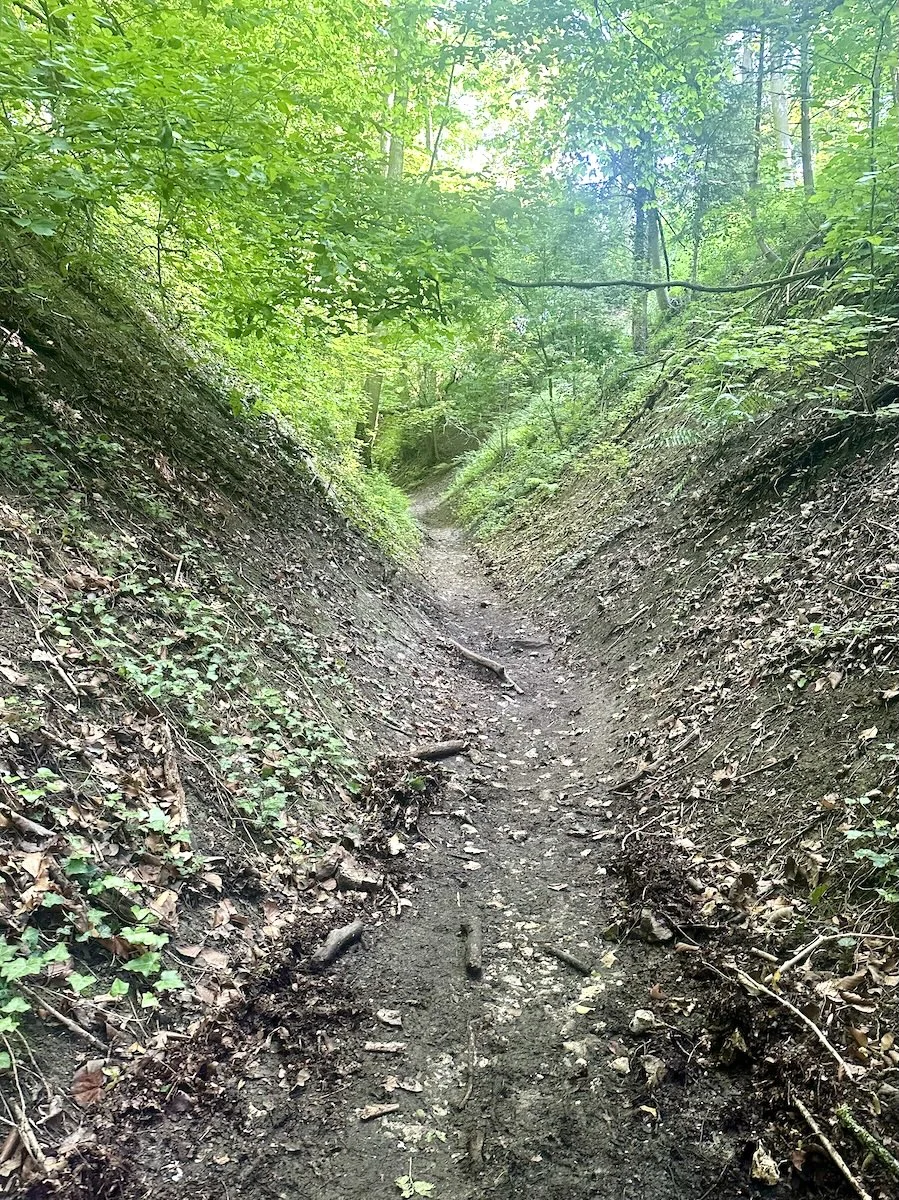
Within 100 meters of the station, the trail cut right into the woods on single track. I could still hear the city around me but was shocked at how quickly it gave way to nature.
Pink Pop and a Zoo I Never Got to Walk Through
It was a pleasant walk until I remembered it was also Pink Pop weekend. Good music, but not for my nature hike. I found myself walking the opposite bank from the campground, then later overlooking the festival itself.
A few short, steep climbs later I reached my first summit, shared with the indoor ski slope SnowWorld. From there I could see straight into the festival grounds and was eager to put some distance between myself and the music. I was here to hike, not to party. I crossed another highway and arrived at the entrance to the zoo, only to find the trail routes around it. I thought about how cool it would have been to walk straight through, kind of like how the Appalachian Trail passes through the Trailside Zoo at Bear Mountain State Park in New York. Maybe that’s an option you can make happen yourself.
Farmland, Heat, and a Water Refill
The trail dropped through forest, though I was clearly still skirting the edge of town, never far from a rooftop or a parking lot. It was blazing hot, somewhere in the 30s, and I’d left the station with a single liter of water for 10km of hiking. I was near Kerkrade and could have detoured straight through it. Instead I did a quick out and back to the Discovery museum to refill, then carried on.
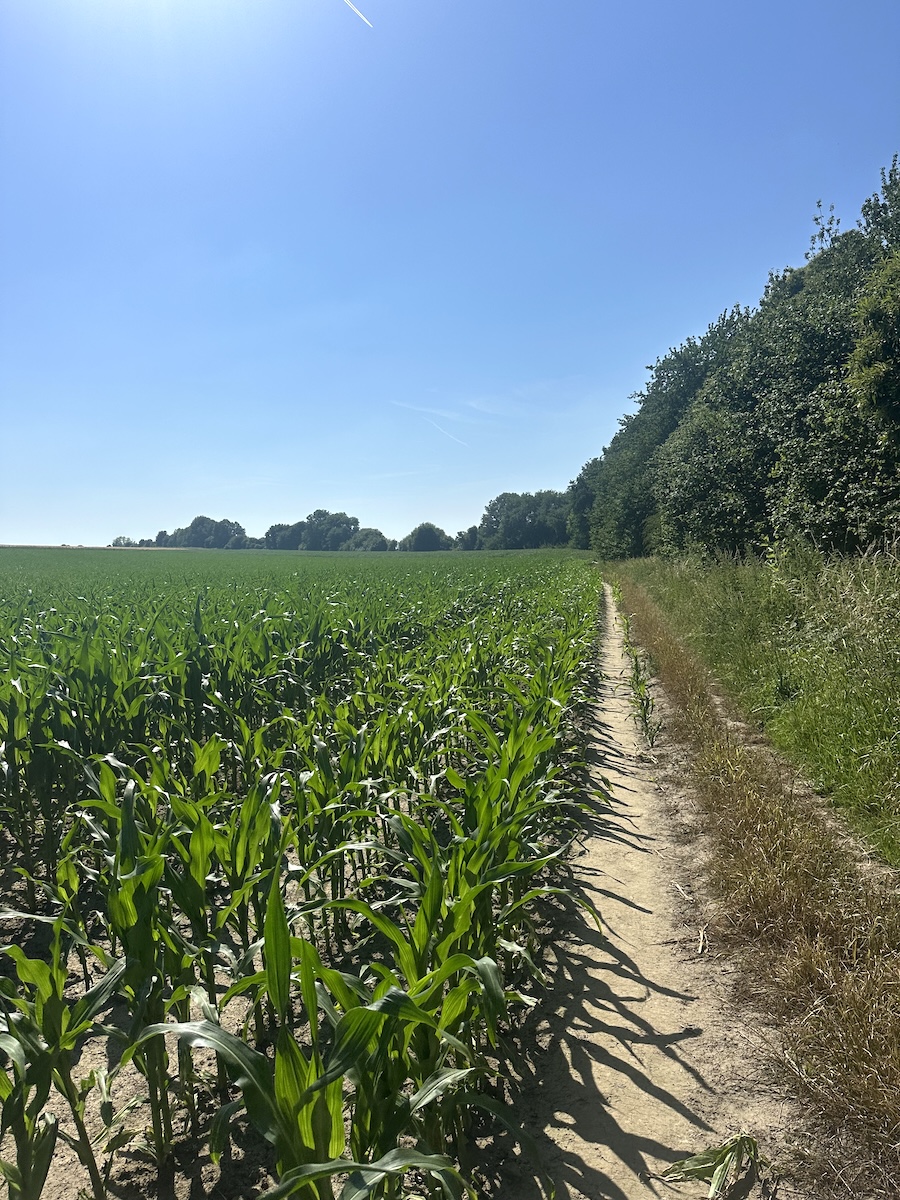
Farmland gave way to a long, straight, tree lined stretch before the trail dropped me into a proper forest and up to my next summit: the Schneeberg at 256m. If you’re not a purist, turn right toward town here and head straight for the campground, saving a few kilometers and skipping a golf course and some road walking.
Into Vaals and a Bus to the Grocery Store
I tend toward the purist side, especially knowing I wanted to write this up later, so I walked the trail through Vaals to the corner where it leaves town. From there, hopping on a bus to the Albert Heijn for dinner supplies felt fair game since I’d already covered every step of actual trail. Vaals has everything you’d need, but the campground sits way up on the north end, so I hopped back on the bus rather than add another kilometer of road walking.
Camp and a Storm to Remember
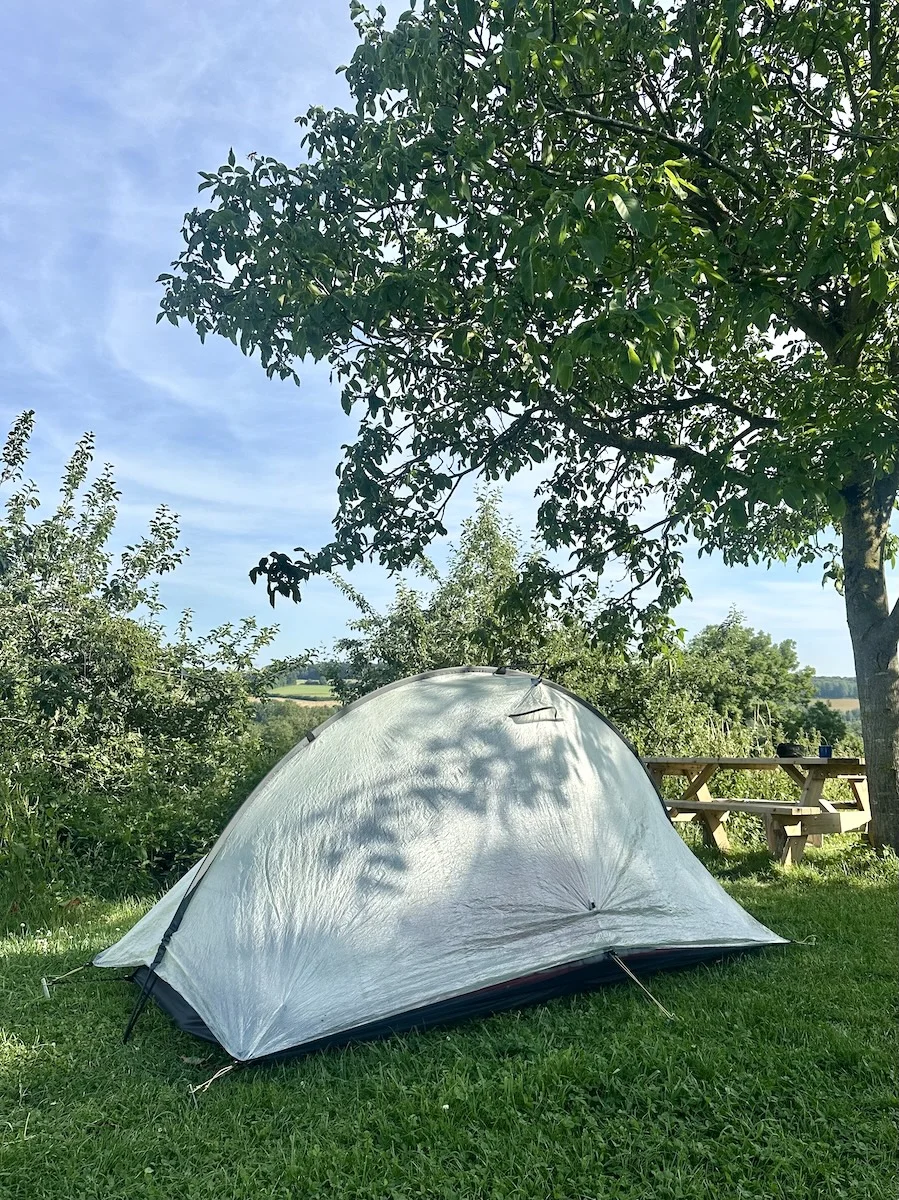
The campground turned out to be lovely, even without many services. Nice showers, a game room, a laundry room, and a flat grassy field dotted with trees and a couple of picnic tables. I pitched my tent, did some sink laundry, showered, and caught part of the Dutch World Cup game over dinner.
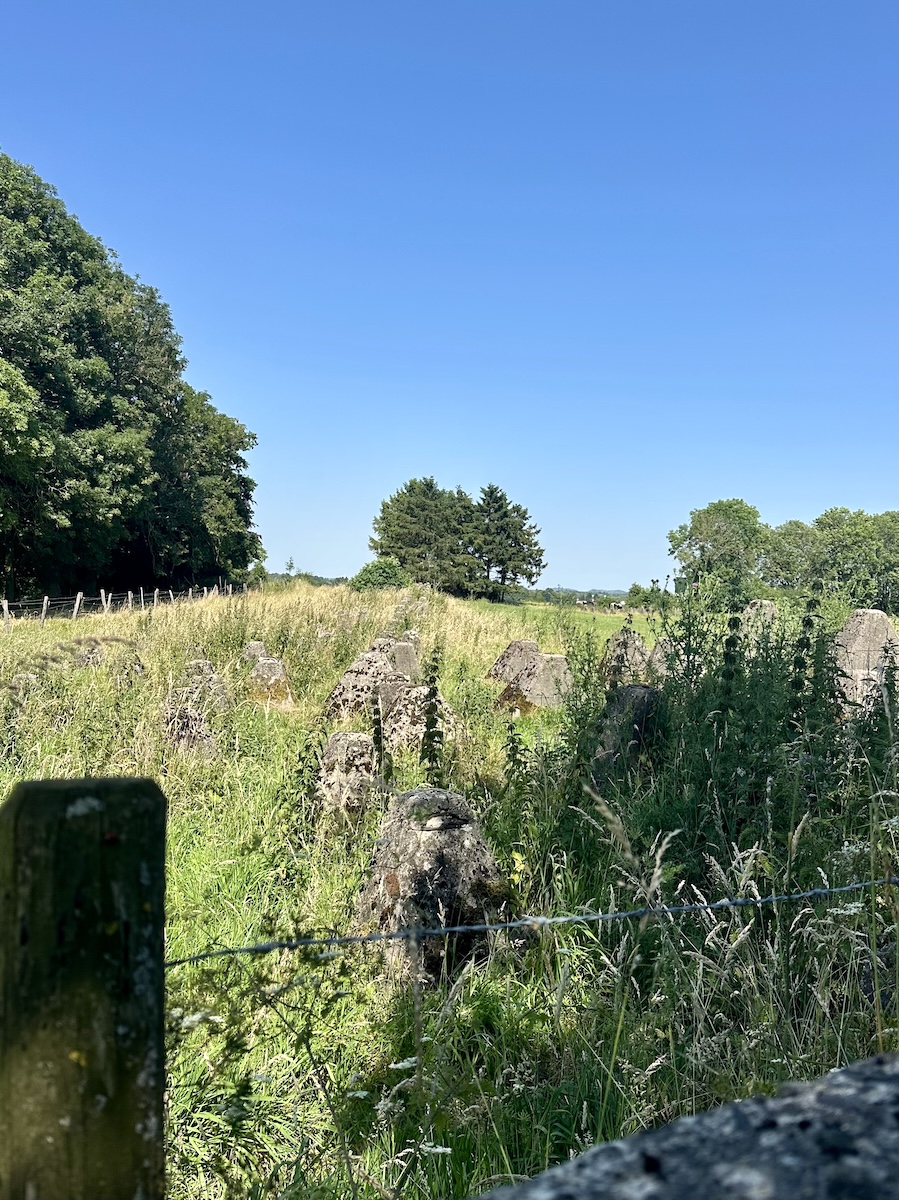
That night it stormed like crazy. Constant cloud to cloud lightning, then heavy rain and hail. It was the first real test for my new Tarptent Rainbow Li, and it held up beautifully. Didn’t get much sleep, but I wasn’t complaining.
Day 2: Kampeerterrein Hoeve de Gastmolen to EuroParcs Gulperberg
Distance: 30.5km | 18.9mi | Time: 12hr
End point: Km 56 | Mi 34.8
Climbing to the Highest Point in the Netherlands
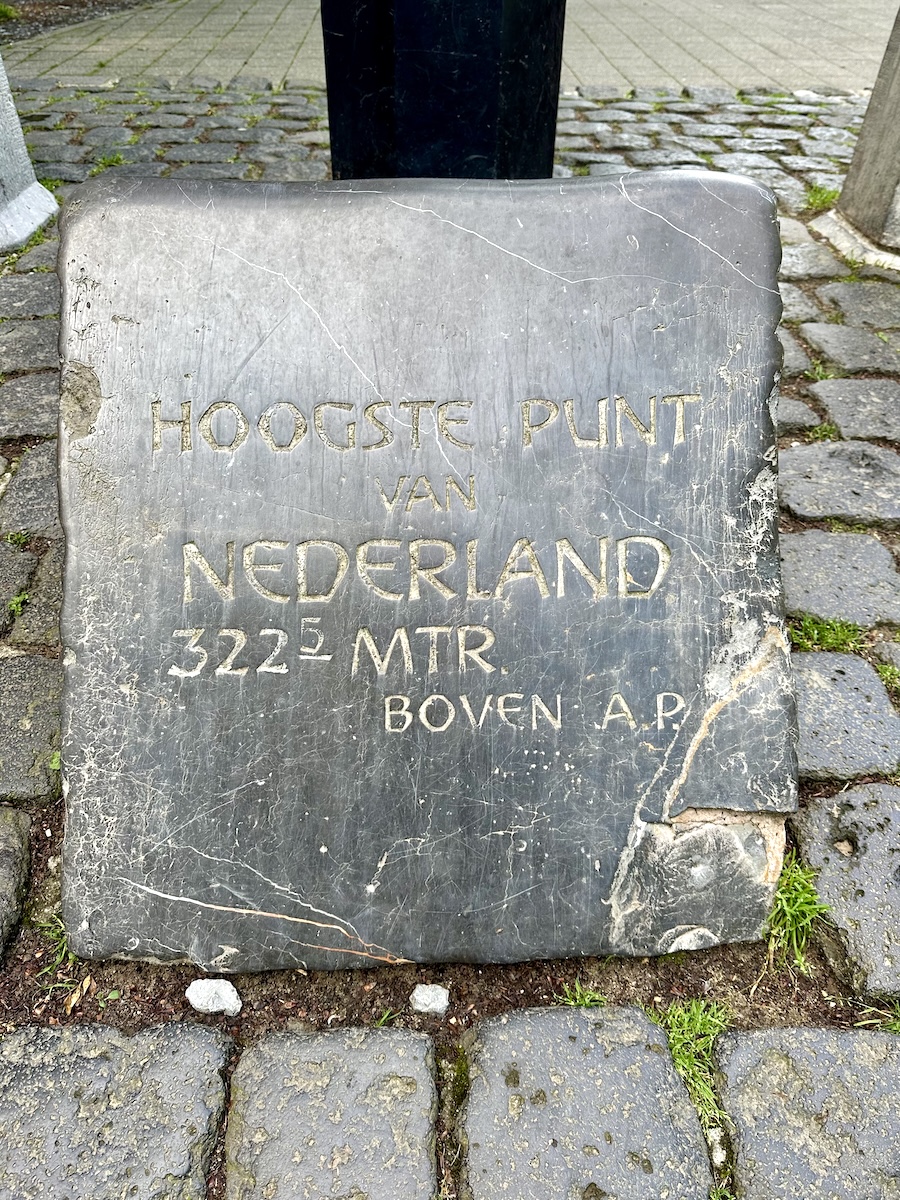
The first half of the day wound through forest, a welcome break from the sun, climbing gradually to the highest point in the Netherlands at 322.5m. I barely noticed I’d arrived until a parking lot, cafe, and lookout tower appeared out of nowhere. Still early, nothing was open, so I kept moving.
A Smash Burger Worth the Detour
Beautiful stretch of trail, but eventually the sun found me again. By the time I needed water and lunch, a spot called Hilleshagerhöfke appeared just off trail with plenty of outdoor seating and a genuinely delicious smash burger. This part of the route felt more outdoorsy overall, plenty of cyclists stopped at the same cafe.
Farmland and a Bit of Unnecessary Routing
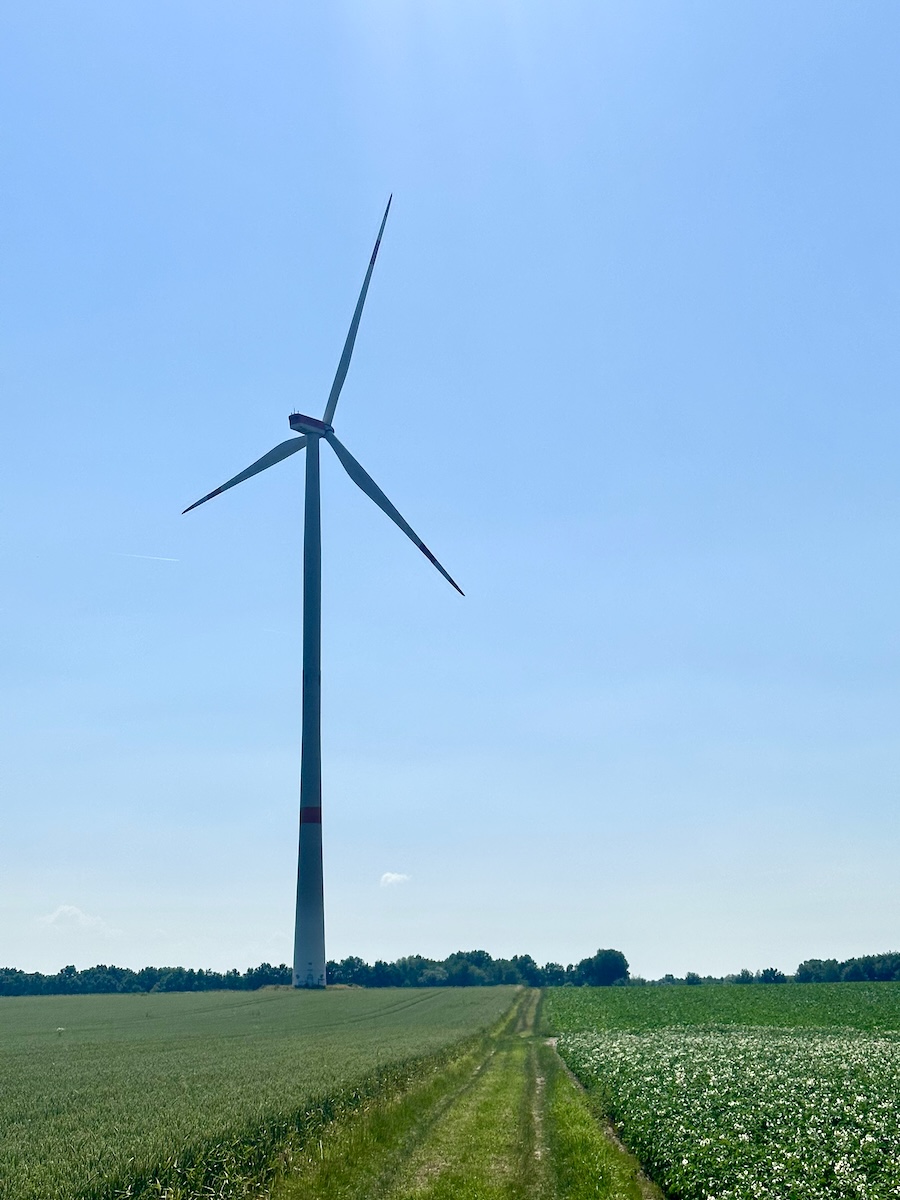
Back across farmland (I counted ten different vegetables that day), the trail dipped down and climbed again toward a summit in the Eyserbos. This is where the trail started to annoy me a little. There’s a fair amount of routing that exists purely to pad out time in the woods. Case in point: a bench with a nice view that requires walking east just to turn around and head back west on a slightly different path.
Pizza at EuroParcs Gulperberg
I hadn’t booked anything for the night but was aiming for EuroParcs Gulperberg. In hindsight, the Boerderij Berghemmerhof across the street might have been the better call. The draw of EuroParcs was the pool, which closed right as I arrived. Something about chemical levels and maintenance forcing a 5pm close every day.
The pizza from the cafe more than made up for it, and the receptionist was genuinely kind. It’s more of a camper and caravan park than a tent camping spot, but I did my chores, set up, showered, did sink laundry, and had a relaxed evening lying in the grass.
Day 3: EuroParcs Gulperberg to Camping Grensheuvel
Distance: 29km | 18mi | Time: 11hr
End point: Km 85 | Mi 52.8
An Early Start and the Hiker Trash Mindset Returns
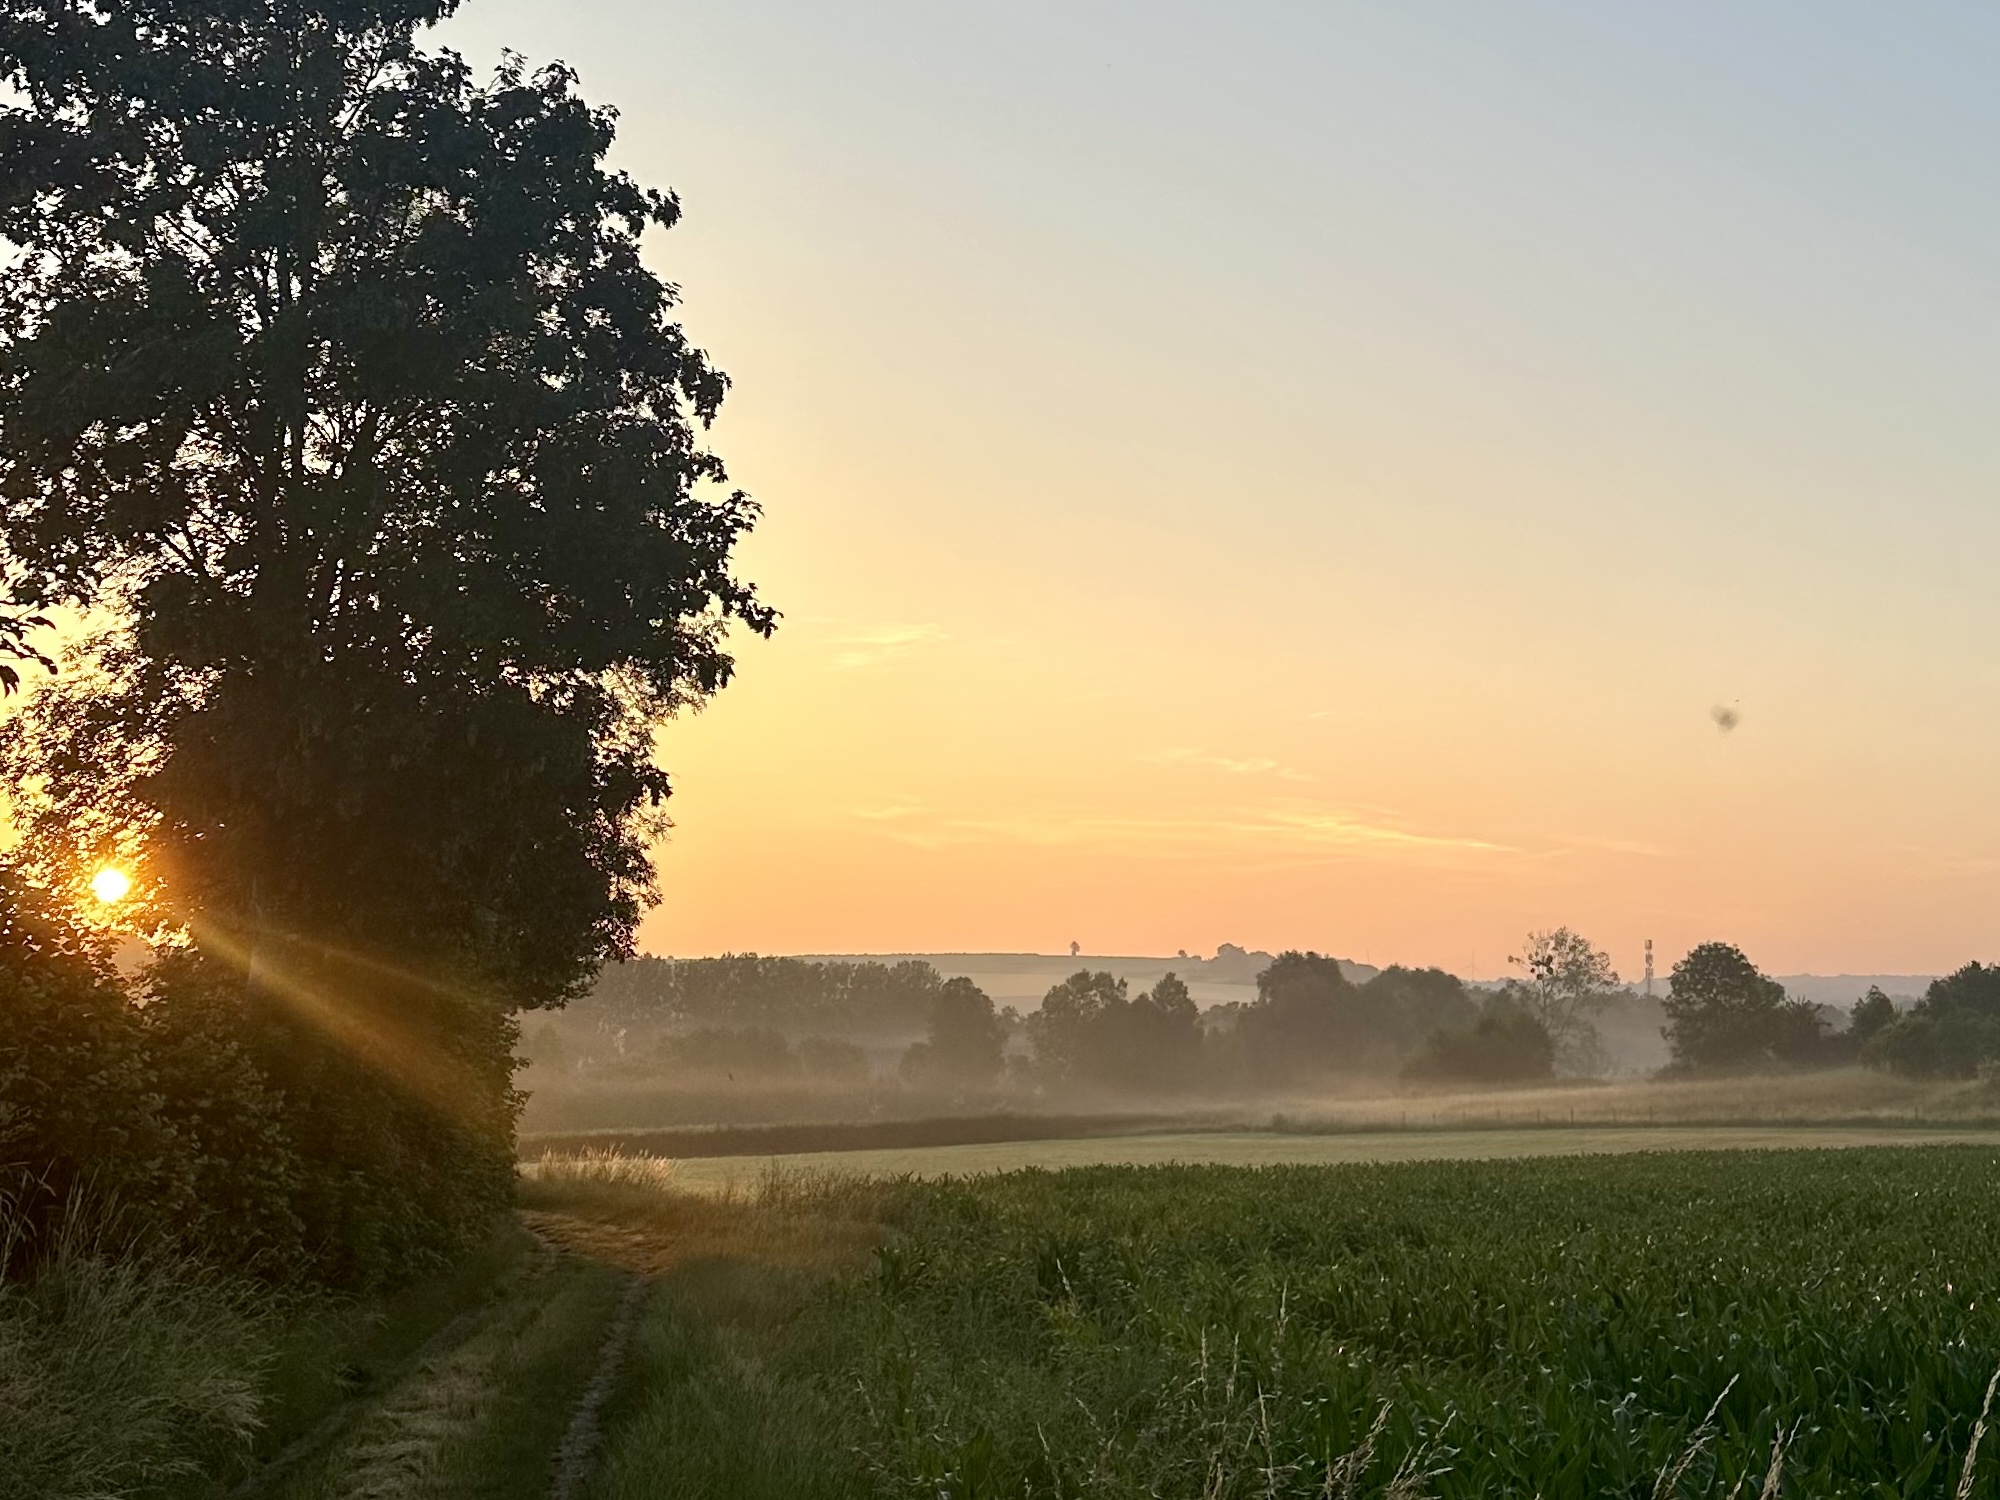
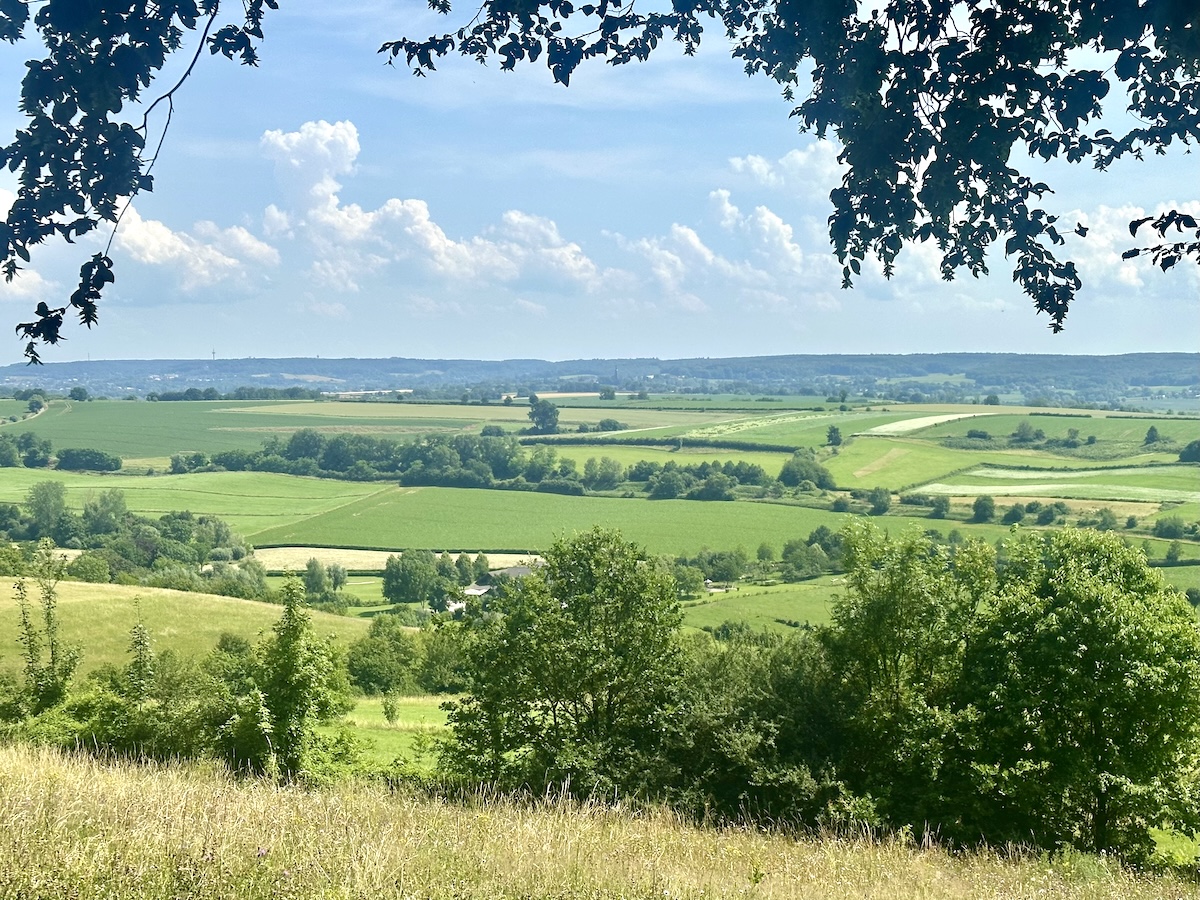
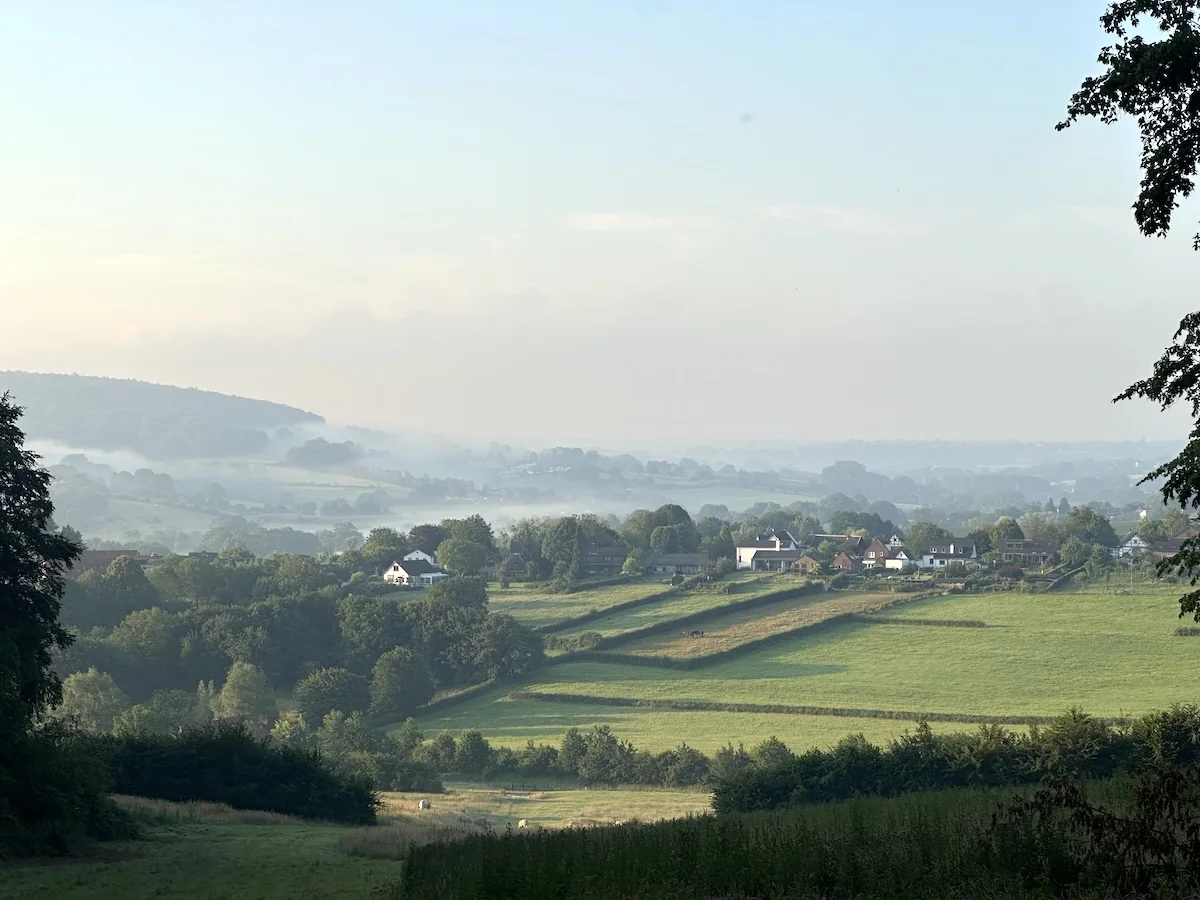
Slept great, moved early. Up at 5, hiking by 6, trying to beat the heat. Leaving camp with the sun rising and mist burning off the fields was one of those mornings that reminds you why you do this. This was also the point where the hiker trash mindset finally clicked back in. Reservation made, nothing to worry about except food and water. That’s the part of long distance trails I miss most.
A Missed Stop at Camping Oosterberg
Another indirect route, heading south and staying in forest. I passed Camping Oosterberg, which would have made a fine stop for the night, though early in the morning I couldn’t find anyone working and no food in sight, just a small reception office.
Back into the woods, I found a wooden table, made coffee, and ate a couple of bars for breakfast while watching campers walk their dogs.
Lunch at Het Boerenhof De Plank
South, then north, then finally west through a genuinely pretty section, ending at a winery where I took shade under a tree and discovered a restaurant nearby. I killed time until it opened. Het Boerenhof De Plank is run by a lovely couple and the food was good, bread and Mediterranean dips, and it’s the only option around without a kilometer or two detour. Worth the stop.
Only about 8km left for the day, but I’d learned to eat calories whenever they were available. I hadn’t packed much and it worked out, but bring extra snacks if you don’t handle long stretches between meals well.
Camping Grensheuvel and Satay Chicken
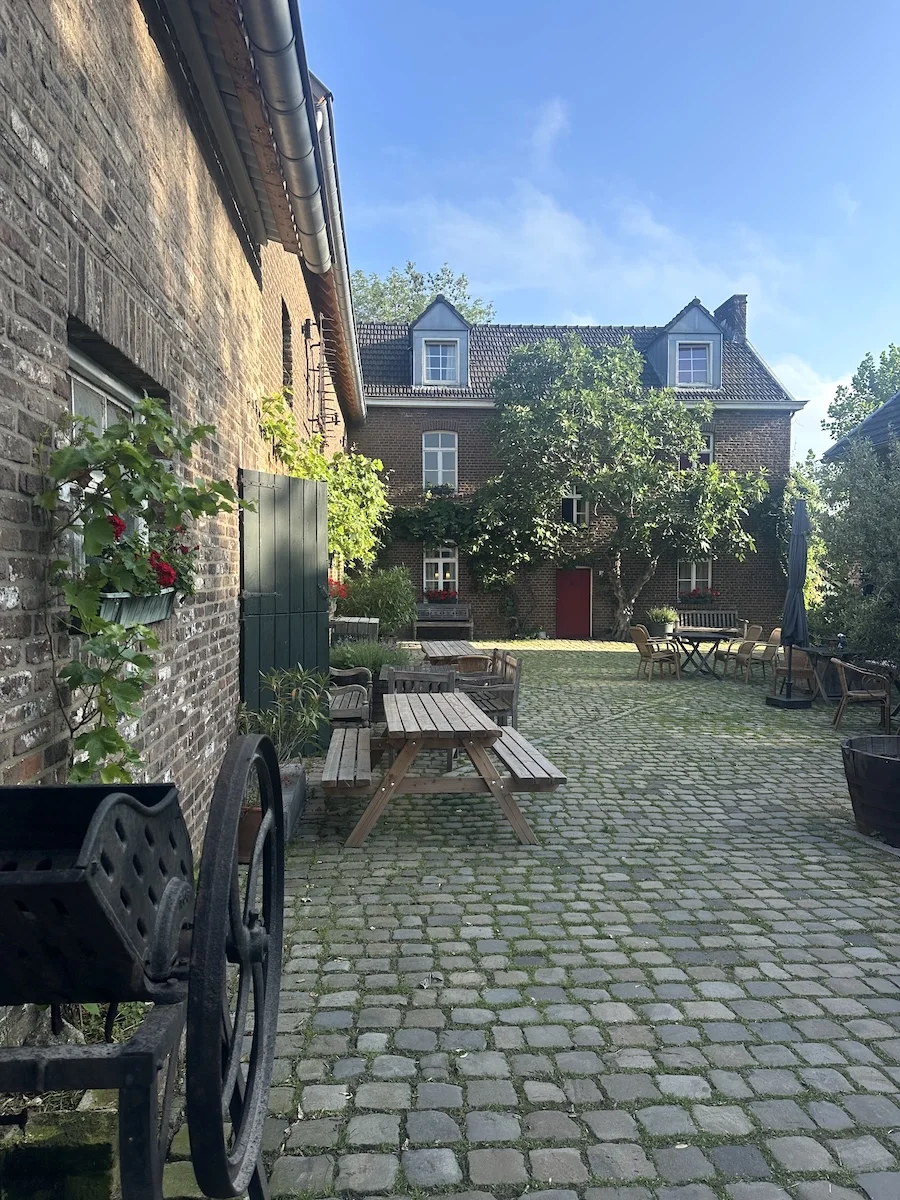
At the campground there was no one to check in with, just a restaurant next door that unofficially helps people get settled. I found the tent area, a long open stretch at the bottom of the property overlooking a valley, a couple of shaded spots, two picnic tables. Did my chores, then headed back to the restaurant for satay chicken in peanut sauce, finished off with a Magnum bar.
Day 4: Camping Grensheuvel to Maastricht Station
Distance: 28km | 17.4mi | Time: 9.5hr
End point: Km 113 | Mi 70.2
The Best Breakfast of the Trip
Breakfast was a coffee packet and two bars, the last of what I had left. Hunger got me moving early. This turned out to be the best day of the trip, and I didn’t see it coming.
The woman at the restaurant knew the trail well and pointed me toward Eijsden, about 8km out, for my next real food. The trail skirts the south edge of town. I’d planned on a grocery store, but a small cafe on the water caught my eye while researching the route, and it turned out to be the best food decision of the entire hike.
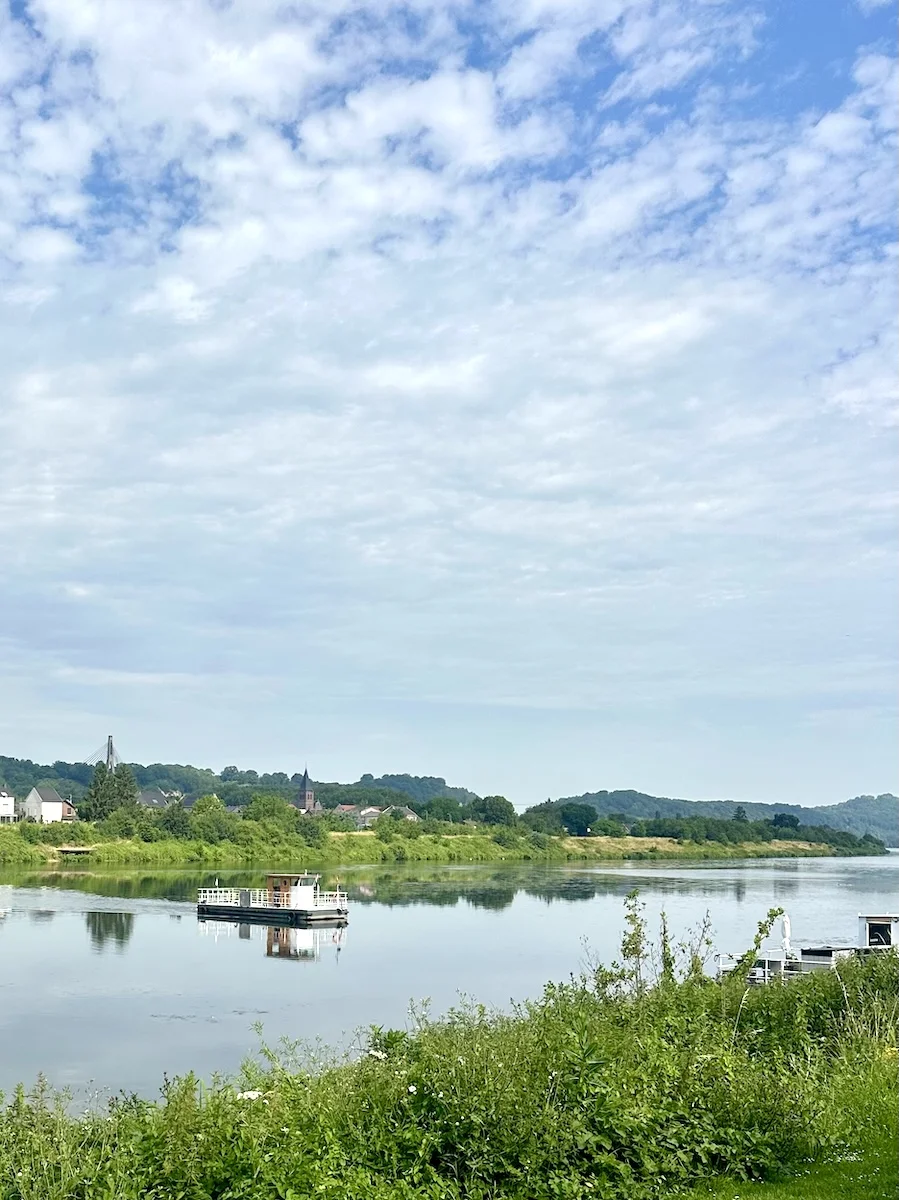
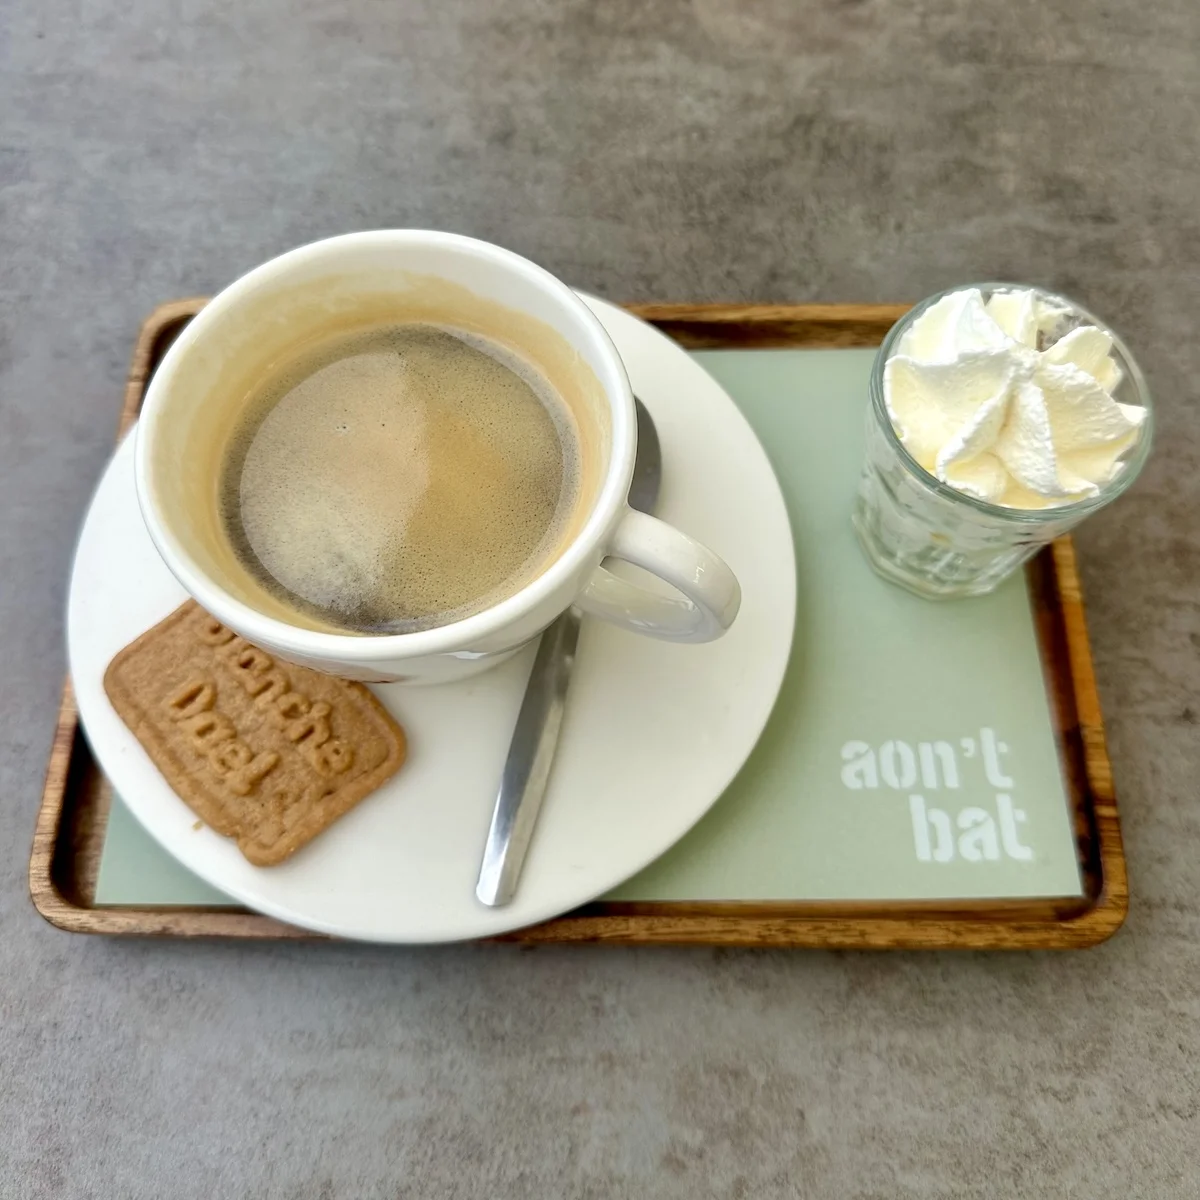
Right by the Maas ferry crossing sits Eetcafé Aon ‘t Bat, overlooking the river. Top of the menu was a special breakfast plate with coffee included. When it arrived, my eyes lit up: scrambled eggs, bread, yogurt, meats, cheese, the whole spread. If you hike this trail, make time for this.
Crossing the Maas by Ferry
I watched the ferry shuttle back and forth while I ate, then crossed myself. The ferry costs 1.50 euro, cash only, though the cafe will give you cash back on a card if you need it.
Locks, Quarries, and the River Walk North
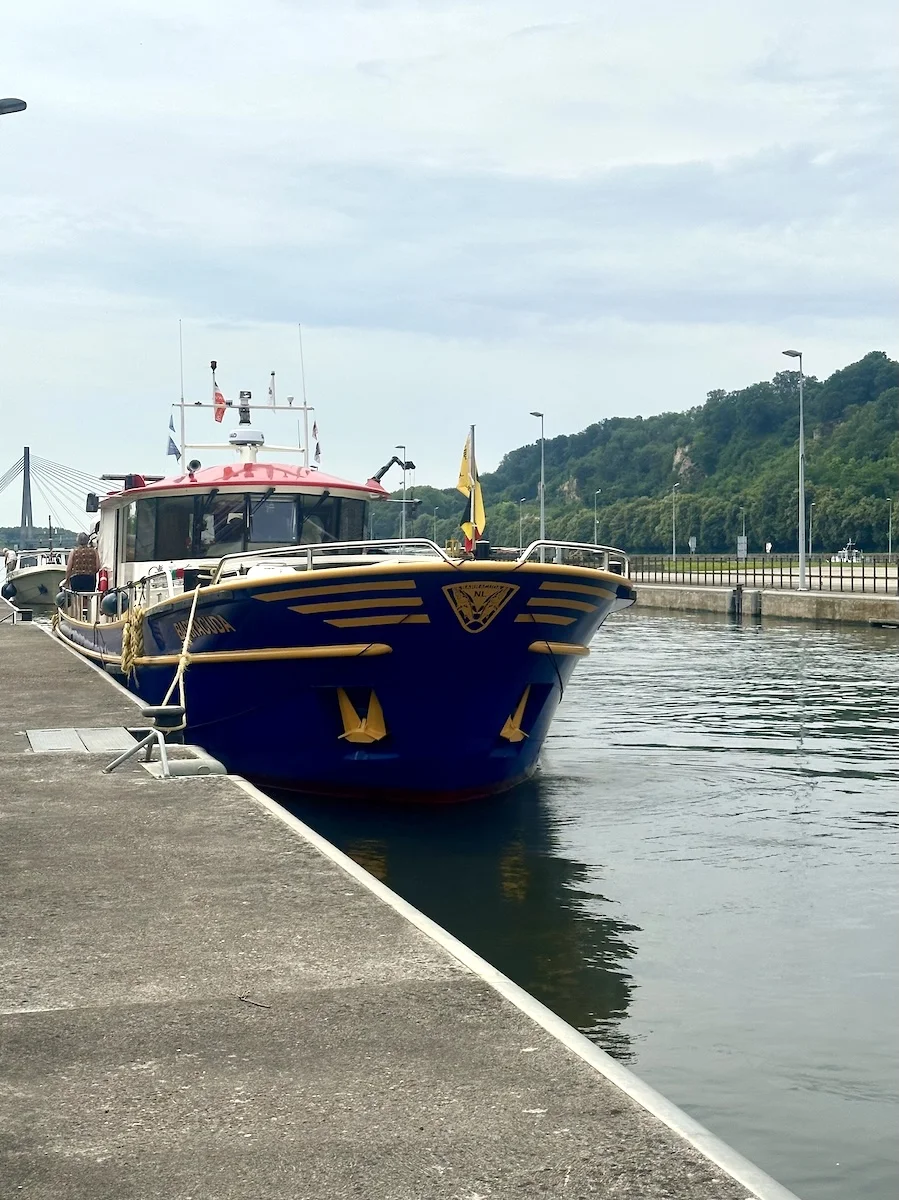
From there I followed the river north for the final 14km. A few unexpected highlights along the way. First, I stopped to watch a boat pass through a lock, chatting with the captain before his boat dropped to the lower level and continued on. The engineering of it was a fun little distraction from walking.
After that, I climbed back into forest before dropping to a cafe on the edge of a quarry. I’d expected the quarry to be more of an obstacle than anything worth seeing, but I was genuinely fascinated. The trail drops down past the cafe, crosses the quarry floor, and climbs back out via stairs, passing sandstone caves carved into the rock along the way. An overhanging lookout at the top gave a great view over the whole thing.
Finishing in Maastricht
By then I was on the edge of Maastricht and it was still mid afternoon. I wandered into a small park to relax in the shade, hoping to find somewhere to swim with all that water around, but never managed to track one down.
After the park, I found the best tacos in the Netherlands at With Love Burrito, followed by ice cream, then made my way to the station to close out the hike.
Final Thoughts
The Dutch Mountain Trail turned out better than I expected. I went into it just looking for something convenient to burn off some energy, and ended up tasting a little of that dirtbag lifestyle again, even if only for four days. The trail isn’t perfect, and there were more than a few routing decisions that had me second guessing whoever designed the trail. My advice: hike it the way it feels right to you, not the way the track tells you to. In the end, it was a great little adventure.